通过中商114认证
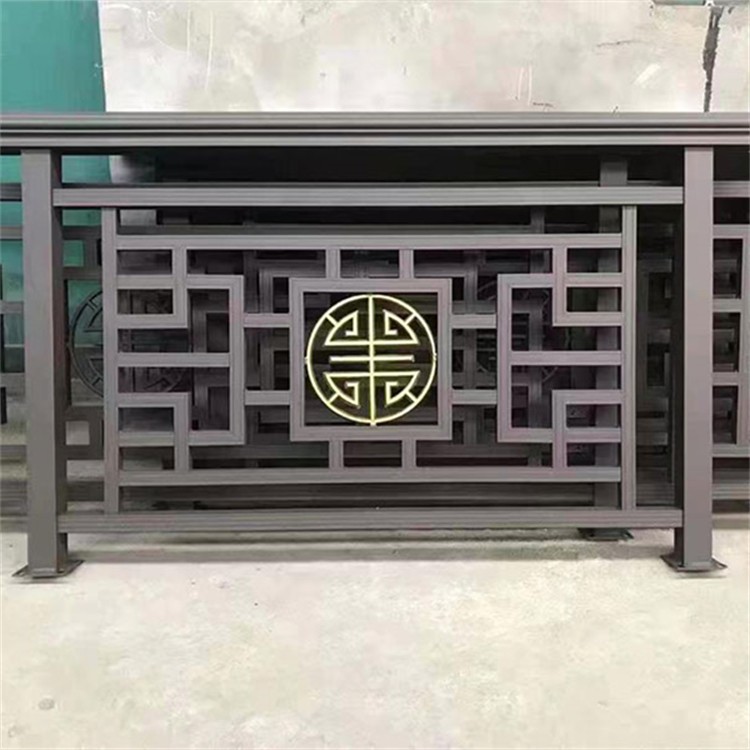
Installation Steps for Aluminum Art Fencing
Preparation underway
Confirm the railing's placement and dimensions to ensure they match the actual required size.
Prepare the necessary tools and materials, such as aluminum art railing square tubes, connectors, screws, hammers, nails, levels, and screwdrivers, etc.
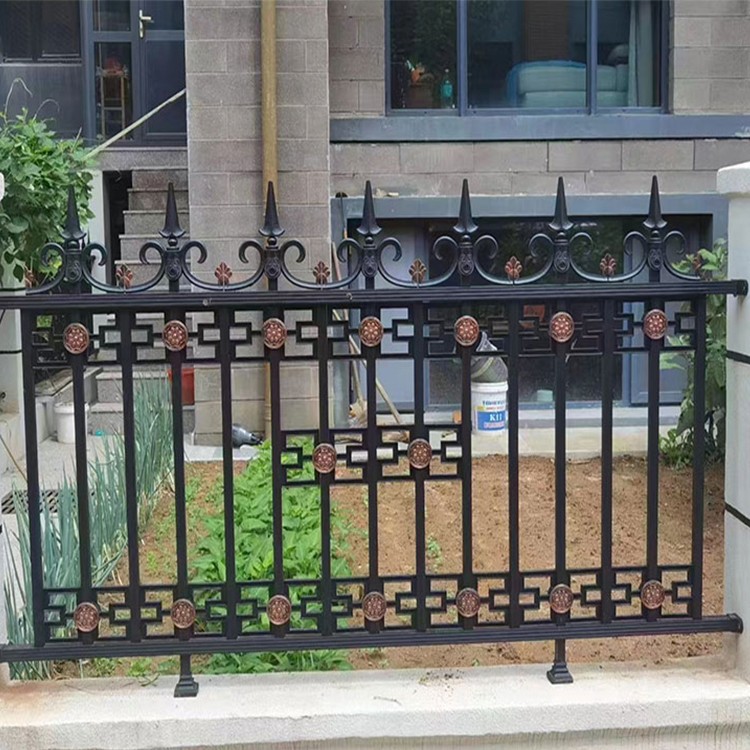
Ground Treatment
Clear the ground, ensuring it is level and free of debris.
If the ground is uneven, a level must be used for measurement and cement mortar should be applied for leveling.
Installed Bracket
Based on the length and height of the guardrail, determine the number and spacing of supports. Generally, a support is installed every 2 to 3 meters.
Mark the location of the bracket on the ground and secure it using a hammer and nails or an electric drill and other tools. Ensure the bracket is firmly installed without any looseness or movement.
Installed rectangular steel tube
Insert the aluminum art railing square tube into the hole of the bracket and secure it to the bracket with screws.
Ensure a tight connection between the square tube and the bracket, with no looseness or movement.
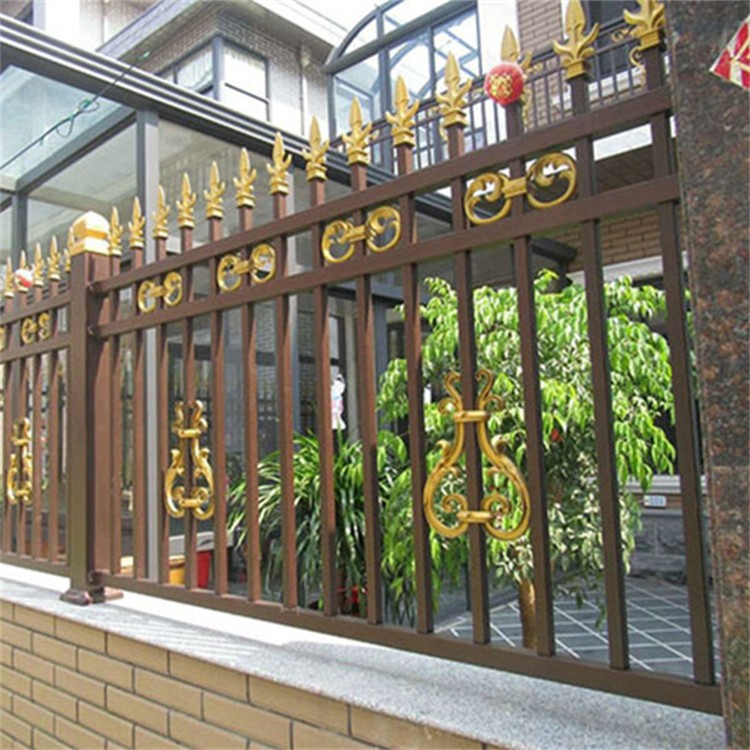
Connecting Square Pipe
If the guardrail exceeds the length of a single square tube, a connecting piece must be used to join two square tubes together.
The selection of connecting components should be determined by the size and shape of the square tube, generally including direct connection and angle connection methods.
Ensure the fasteners are securely installed to guarantee the overall stability of the guardrail.
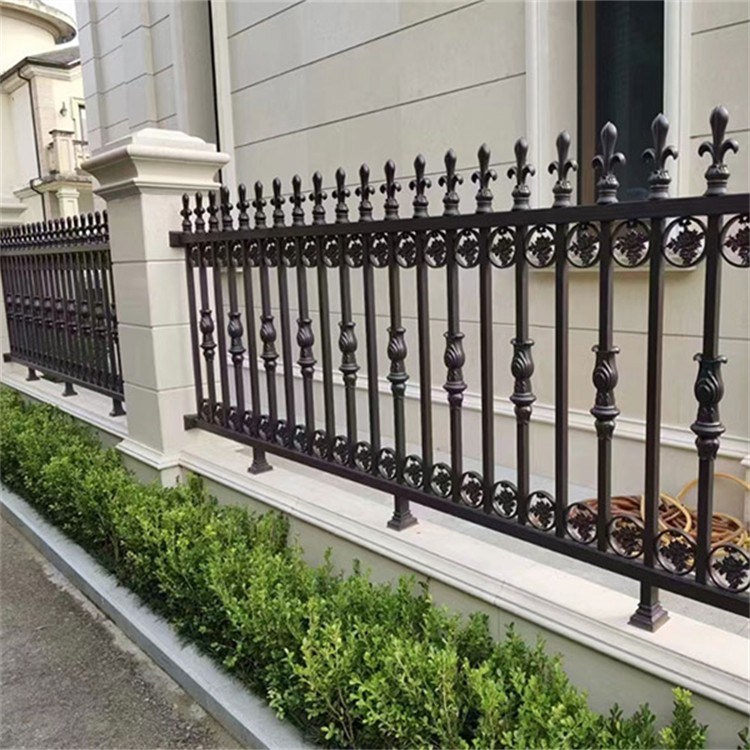
Install door panels (if applicable)
If gates are required for the guardrail, a door opening can be left on one side of the guardrail and a gate installed.
The door installation method is similar to that of square tubes, requiring brackets and screws to secure it to the ground.
Final touches
Inspect all screws and fasteners for secure installation.
Clear the site, tidying up excess screws, connectors, and other tools and materials.