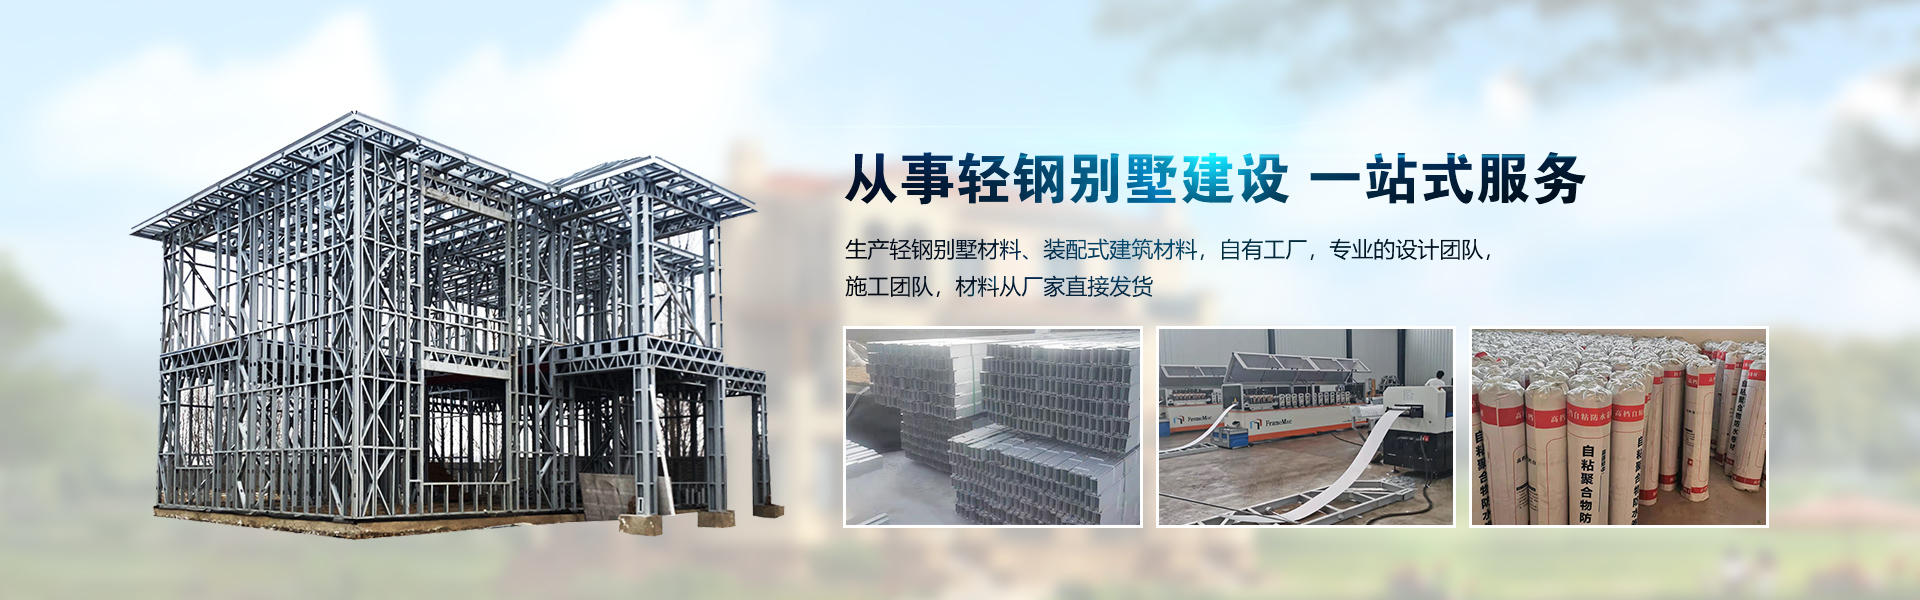


The wet-laying method for waterproofing membranes refers to the construction technique of applying wet-laid waterproofing membranes for non-exposed waterproofing projects, which are bonded to the substrate using cementitious gel (plain cement slurry). This method is suitable for waterproofing projects on roofs, basements, and other areas in both industrial and residential buildings, particularly for projects with high waterproofing standards, poor construction environments, high humidity, and tight schedules.
Base Surface Cleaning 01
Remove surface debris, oil, sand, and protruding stones,砂浆lumps from the base, ensuring they are thoroughly cleaned. Sweep and repair the surface as needed during construction. Pay special attention to removing cement砂浆attachments from drain outlets, chimneys, and pipe walls.
The阴阳 corners are finished with cement mortar to form rounded edges, with the concave corner having a small radius of 50mm and the convex corner a small radius of 20mm. If there is visible water on the base surface, simply sweep it away before proceeding with the construction.
Setting up Cement Paste 02
Water to cement ratio: 2:1 (by weight). First, pour the required amount of water into the pre-prepared mixing drum, then add the cement to the water, soak for 15 to 20 minutes and ensure it is fully soaked, and then pour off the excess water on the surface of the drum; next, add 5% to 8% of the cement weight in polymer building adhesive (water-retaining agent), and mix with an electric mixer for more than 5 minutes.
Tension Baseline Test Laying 03
Based on the construction site conditions, a reasonable positioning is conducted to determine the laying direction of the rolls. The control lines for the rolls are drawn on the base layer, and the trial laying of the rolls is then performed from low to high following the water flow direction.
Peel off the isolation paper at the bottom of the roll
After the roll laying test, first cut the roll to be laid, then reverse it on the base surface (with the bottom isolation paper facing up), and peel off the isolation paper. When peeling, the peeled isolation paper should maintain a sharp angle of 45 to 60 degrees with the adhesive surface to prevent tearing the isolation paper, and try to keep it in a natural relaxed state without any creases.
Roll-out Laminating 05
The Rolling Laying Method: Align the rolled material with the reference line and try to lay it out. At about 5 meters, gently score the release paper with a paper cutter, being careful not to damage the rolled material. Slowly peel the release paper from the back of the unspread rolled material while gently pushing the unspread rolled material forward along the reference line. Peel the release paper and lay as you go. After laying, roll up the remaining 5 meters of rolled material from the trial lay and adhere it to the base layer using the aforementioned method.
The Laying Method: Place the pre-cut rolled materials face down on the base surface (i.e., the bottom isolation paper is facing up). After removing all the isolation paper from the rolled materials, apply the cement paste evenly on the adhesive surface of the rolled materials and the base surface where laying is to take place. Then, with the coordination of two people, lift and flip the rolled materials from both ends, and lay them flat at the designated location. The rolled materials are laid in parallel with each other, and the isolation film between the upper and lower rolled materials is removed only after the laying of the long and short edges is completed.
Rolling Exhaust 06
Once the rolled material is laid, use a soft rubber board or roller to scrape and press from the center towards the overlap side, releasing air to ensure the material adheres fully to the base. When laying the next sheet, peel off the release paper from the overlap area of the lower layer, align the upper layer sheet with the overlap control line, and press it flat onto the lower layer, scraping to release air and ensuring full adhesion.
Joint Edge Sealing, Head Sealing and Sealing
Single-sided adhesive film joint construction: Parallel lapping is performed between adjacent rolls on the short edge, and the joints are sealed with HNP adhesive tape strips heated and bonded (roof adhesive tape strip width 100mm, basement adhesive tape strip width 160mm). The long edge uses heated self-adhesive lapping with a lap width of not less than 80mm. After large-area laying is completed, joint construction should be carried out 24 hours later. During construction, first clean the mud and dust from the joint edge, then peel off the isolation film of the upper and lower rolls (no need to tear the isolation film on the short edge), and bond while heating with a hot air gun.