
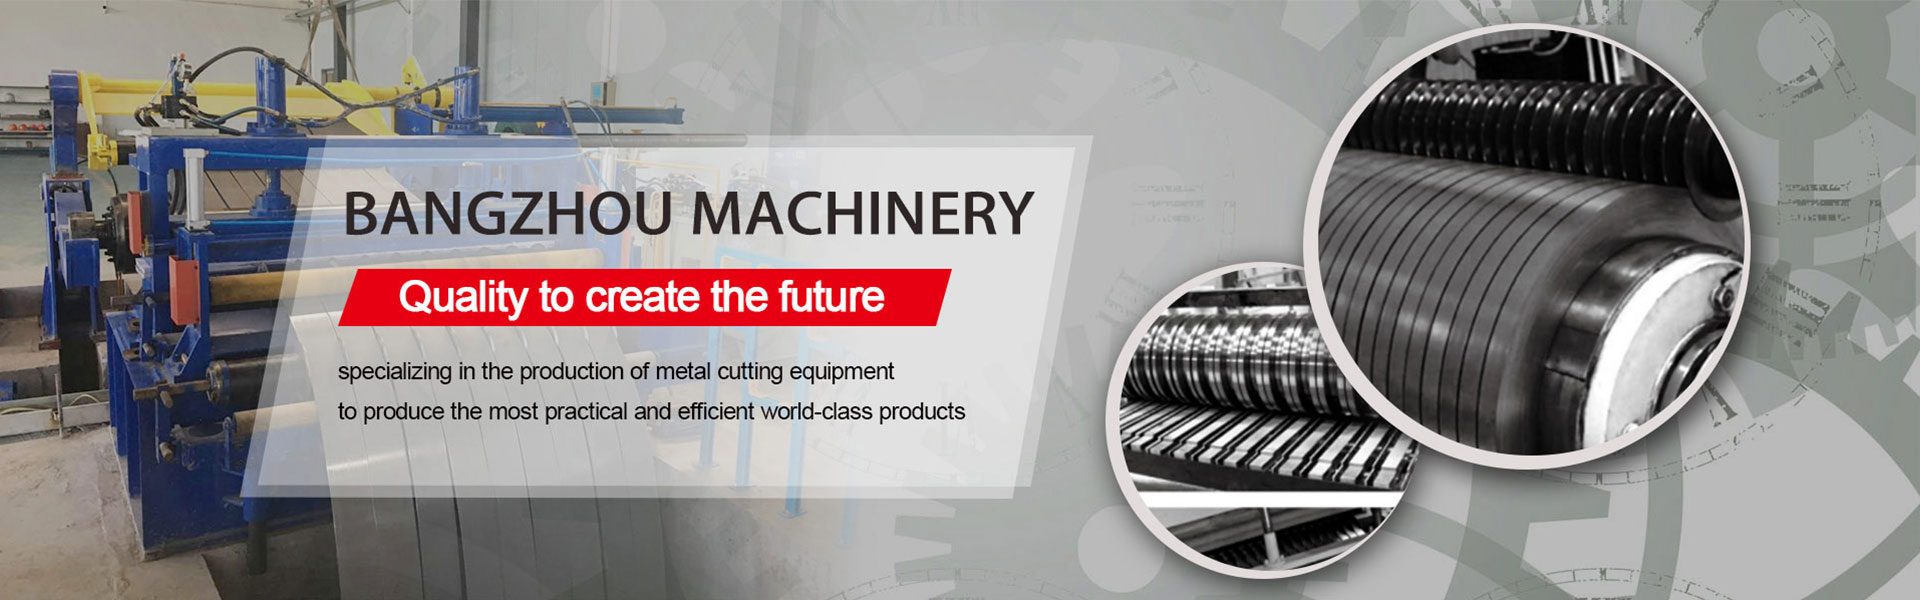
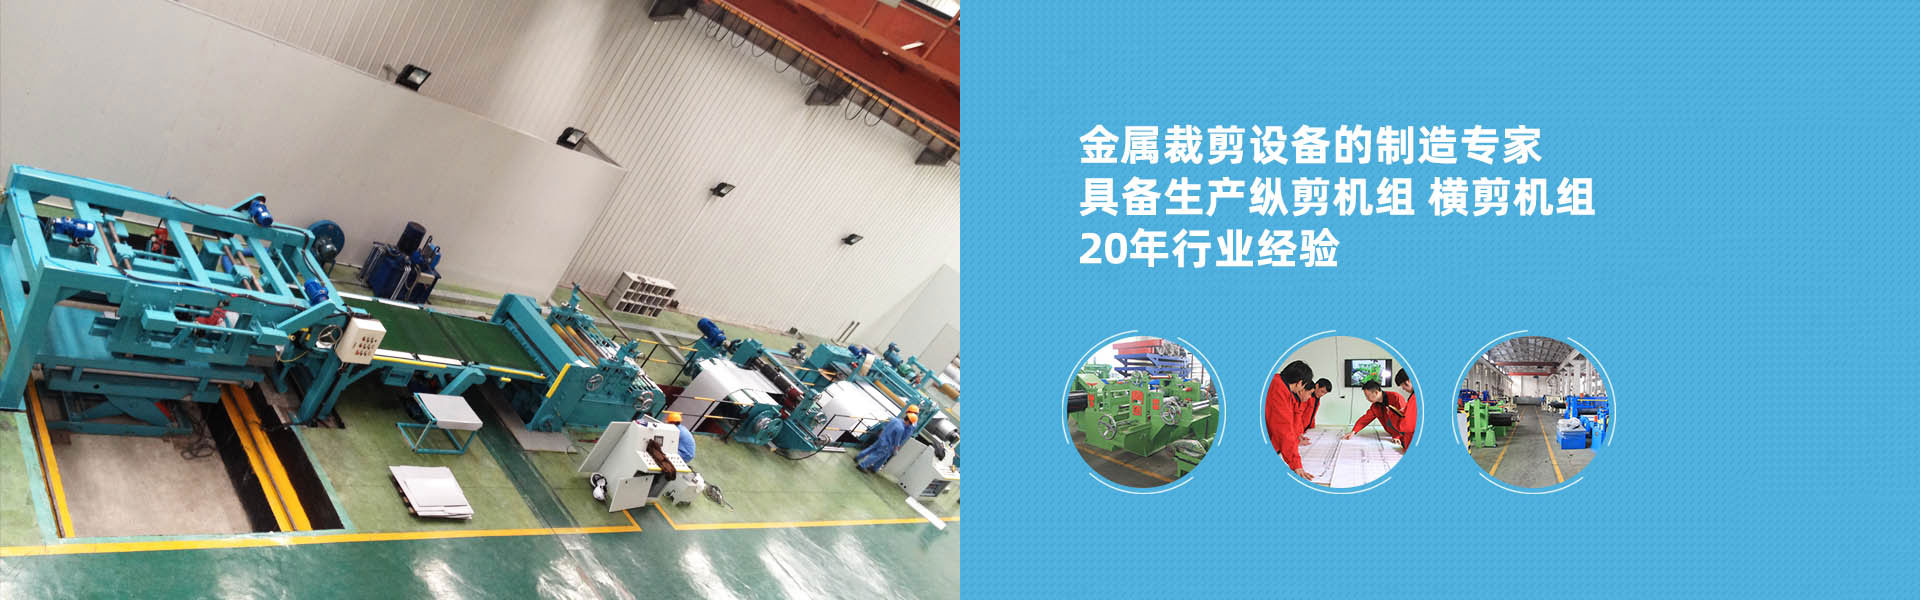
 通过中商114认证

1. Power On. Close the air switch inside the control cabinet, and the power indicator light on the slitter will illuminate. Be cautious not to touch the terminal connectors with your fingers to avoid electric shock, which could pose a safety risk.
2. Roll up the curtain fabric. Open the guide safety card head, hoist the curtain roll, close the safety card head, separate the curtain from the adhesive tape, and wrap the curtain around the roller tube.
3. Manual tape application. The guide is set to manual, with forward rotation for intermittent tape guiding. An operator manually pulls the tape through the correction roller, tension roller, brake roller, and drive roller.
4. Cut and Draw Wire. Use scissors to cut the rubber strip to the desired size for the seal. Then, draw the wire through the strip and secure it onto the draw-wire roller.
5. Top Coiling Roller. Remove the end cap of the winding shaft, install 30 nylon spindles, then reattach the end cap, open the winding safety head, install the winding shaft, the operation for winding 1 and winding 2 is the same.
6. Apply the adhesive tape head. Stretch the tape to the appropriate position, wrap it around the reel, ensuring the tape length remains consistent to maintain uniform tension.
7. Adjust Tension. Set the winding tension between 6.5-10, and the guide tension between 10-15. Note that as the winding diameter increases, the curl tension should be appropriately increased to ensure consistent tension in the tape.
Adjust the winding speed. Ensure the winding speed is within the required range, paying attention to not set it too high during startup to avoid tracking errors. It can be adjusted to 20 before increasing the speed.
9. Start the machine. After completing the aforementioned operations, press the start button, rotate the scroll a couple of turns, and observe if the scroll tape is misaligned. If it is, stop winding, align it, and then continue rotating. At the same time, pay attention to the position of the yarn end to adjust the winding start and stop, preventing the yarn end from breaking or getting tangled.
10. Adjust the tension of the winding rubber strip. If there is a loosening of the rubber strip, it is usually due to the thickness of the strip causing the winding diameter to decrease. You can add a plastic spacer to increase the diameter, thereby ensuring consistency in tension with other strips.
11. Stop the coiling machine once the coiling diameter reaches 160mm.
12. Disassemble the product. Cut the rubber strips, release the safety card head, lift the winding shaft, remove the lower shaft, disassemble the product, and ensure to separate the products promptly to avoid stacking and sticking together.
13. Prepare for the next winding.
Please turn off the main power to the machine if it will not be used for an extended period.