







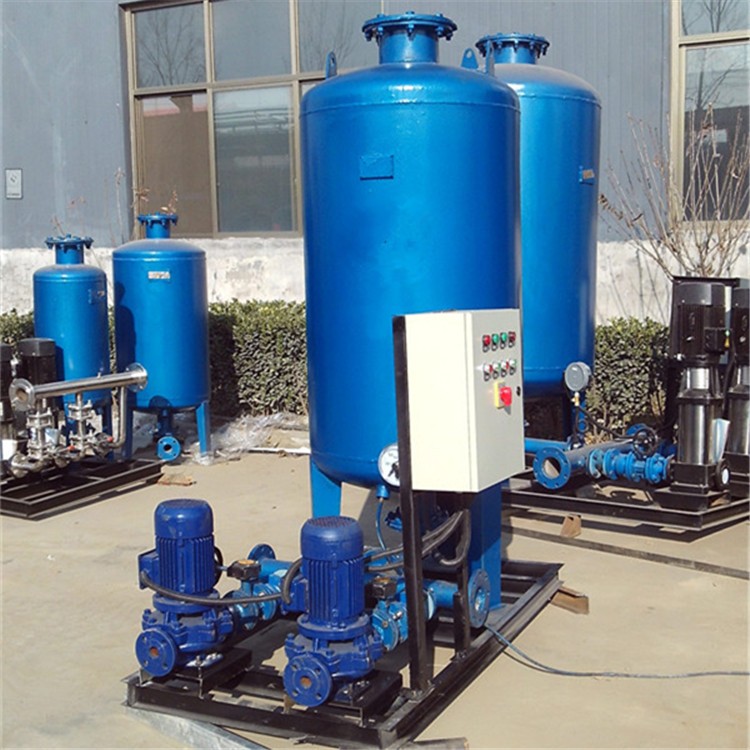
I. Standardization
Installation Requirements:
1) The water softener should be installed on a sturdy concrete platform, with a drainage channel nearby, and the drainage capacity of the pipe should match that of the water softener.
2) The salt storage box (salt cylinder) should be placed near the resin tank, with a distance not exceeding 200MM between them, and the length of the salt absorption tube should be kept as short as possible.
3) When connecting a water softener directly to a heating device, maintain a pipe spacing of over 3 meters and install a one-way valve. 4) The placement of the salt storage tank should facilitate the addition of regenerant.
5) Adequate space for maintenance and inspection should be provided near the equipment.
2. Pipe Connections:
1) Please refer to the local construction specifications for pipeline connections.
2) Connect the imported outlet pipe according to the control valve size.
3) Inlet and outlet pipes should be equipped with manual valves. A bypass valve should be installed between the inlet and outlet pipes. A sampling valve should be installed on the outlet pipe, and it is recommended to install a Y-type filter on the inlet pipeline.
4) Keep the length of the drainpipe as short as possible, minimize bends, and ensure the distance between the valve and the drain is no more than 2 meters.
5) When connecting the drain pipe to the drain channel, maintain a certain space between the water surface of the drain pipe and the drain channel to prevent the live water from being siphoned back into the softener.
6) No valves of any kind are to be installed in the drainage pipes.
7) Ensure good sealing for saltwater pipe connections; otherwise, it will affect the regenerative efficiency of the water softener.
8) Install an overflow port on the reserved hole of the saltwater tank and connect it with a plastic tube (purchased by the user) for drainage and water intake.
9) Various pipelines are equipped with independent supports at irregular intervals, prohibiting the transmission of the pipeline's weight and stress to the control valve.
3. Electrical Connections:
Confirm the electrical parameters of the control valve match the power supply.
2) Insert the plug into the matching outlet.
3) Power outlets should not be controlled by switches nearby.
4. Resin Loading:
1) Prior to loading, the central tube collection tube (with a water sprayer) should be placed into the resin tank. (At this time, use tape to seal the central tube to prevent quartz sand and resin from entering.)
2) Pour the specified amount of quartz sand into the resin tank through the gaps around the pipe, and level it at the bottom of the tank.
3) Pour the processed resin (positive resin) into the resin tank around the pipe according to the specified filling quantity.
4) The above arrangement should keep the middle tube always in the middle position of the resin tank.
5) Remove the sealing tape from the middle tube.
6) Align the socket of the control valve with the center pipe and carefully turn the control valve clockwise. (Note: Apply lubricant to the center pipe opening before rotating. Ensure the center pipe is fully inserted into the valve body.) Tighten the control valve directly onto the tank interface.
4. Debugging Section
1) Gradually open the inlet valve to 1/4 turn (note: opening the valve too quickly will cause resin to leak out). At this point, you can hear the sound of air escaping from the drain pipe.
2) After all the air is purged, fully open the water inlet valves.
3) Power on, turn the manual regeneration knob, and follow the steps to rotate the knob to the salt tank refilling position to replenish the salt tank. (Note: Check if the brine water level meets the design requirements.)
4) Add regenerant salt to fill the salt. (Note: It is strictly prohibited to use refined iodized table salt as regenerant salt.) The concentration of the regenerant solution is generally around 10%. The salt box should always have salt visible. 1 gallon of water can dissolve 3 pounds of salt (concentration of 26.4).
5) After the salt has dissolved (usually within 4 hours), rotate the manual regeneration button to initiate a single regeneration cycle.
6) Water samples are released from the sampling valve for water quality analysis, and once approved, they are immediately put into operation.
7) Set regeneration cycles as required, either time-based or flow-based